Are you wondering which tools you should gather to start a small survival garden and how each one will help you succeed?
This image is property of pixabay.com.
What Tools Do You Need To Start A Small Survival Garden?
This article lays out the tools you’ll want for a productive, low-maintenance survival garden. You’ll get practical lists, explanations for each tool’s purpose, maintenance advice, and budgeting tips so you can start with confidence.
What Is a Small Survival Garden?
A small survival garden is a compact, intentionally planned growing space that provides nutritious food to support you and your household in times of shortage or for long-term resilience. You’ll focus on high-yield, easy-to-preserve crops and practical layouts that maximize production in limited space.
How Tools Help You Succeed
The right tools reduce physical strain, increase efficiency, and improve your garden’s productivity and longevity. You’ll find that investing in a few good tools pays off with less wasted time, healthier plants, and easier maintenance.
Essential Hand Tools
Essential hand tools are the workhorses of a small survival garden; you’ll use them for planting, weeding, and short-term maintenance. Below is a practical table summarizing the core hand tools, what they do, and quick-buy tips.
| Tool | Purpose | Quick Tip |
|---|---|---|
| Garden trowel | Digging small holes, transplanting, mixing soil | Choose one with a comfortable handle and stainless or carbon steel blade |
| Hand fork (cultivator) | Loosens soil, removes weeds around plants | Look for short, sturdy tines for leverage |
| Weeder (dandelion or Hori Hori) | Removes roots and deep taproots | A hori hori doubles as a digging knife and measuring tool |
| Hand pruners (secateurs) | Pruning, harvesting stems and small branches | Bypass pruners give cleaner cuts on live wood |
| Garden gloves | Hand protection, grip, blister prevention | Use nitrile or leather depending on tasks and climate |
Garden Trowel
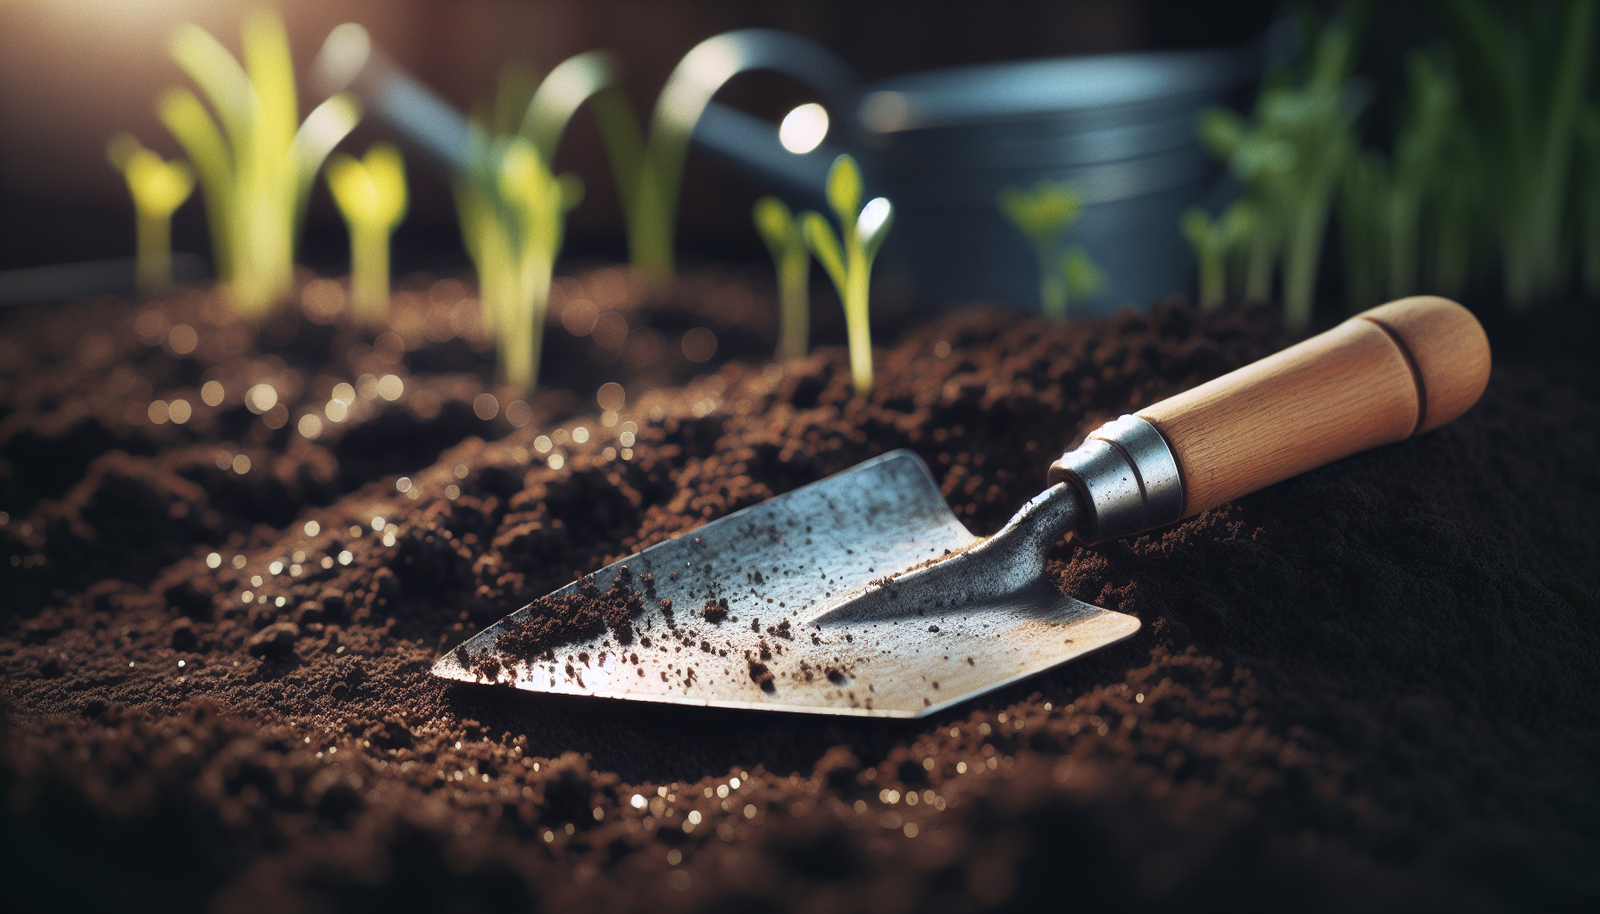
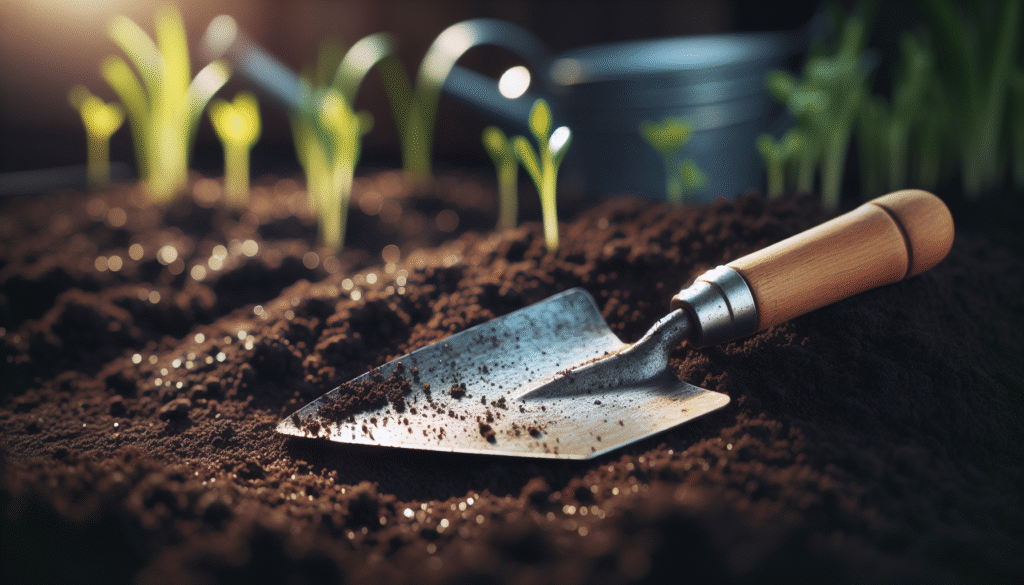
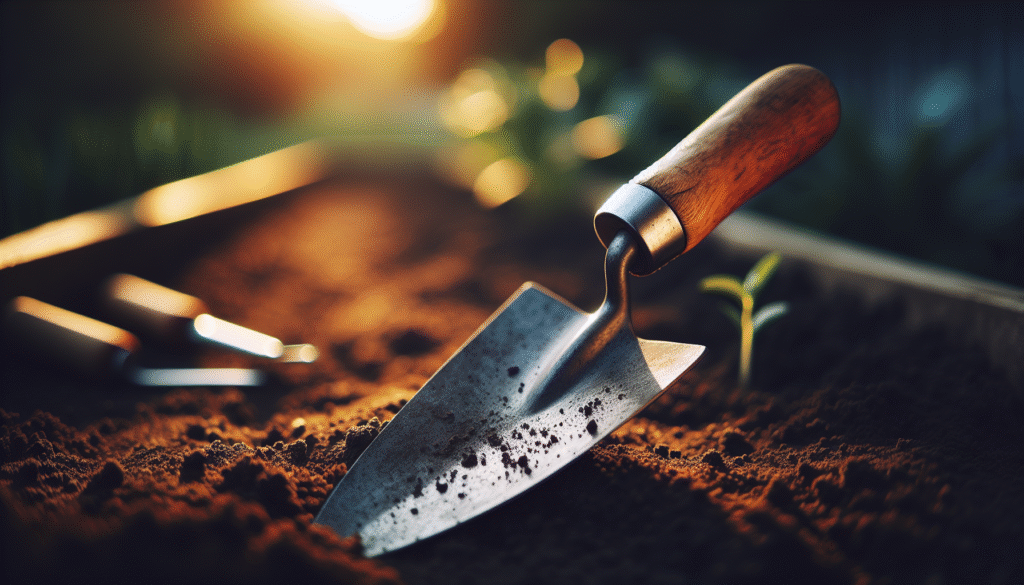
A trowel is the smallest shovel you’ll use daily for transplanting seedlings and digging to add amendments. You’ll want a sturdy blade and a handle that fits comfortably in your hand to prevent blisters.
Hand Fork
A hand fork helps you break up compacted soil and remove weeds without disturbing roots of nearby plants. You’ll appreciate it when preparing small beds or working in containers.
Weeder / Hori Hori Knife
You’ll use a specialized weeder or hori hori to pry out deep-rooted weeds and to slice roots or seedlings during planting. It’s a versatile tool that often replaces multiple single-purpose items.
Hand Pruners (Secateurs)
Pruners let you make clean cuts on stems and small branches for plant health and easier harvesting. Keep them sharp and oiled so cuts heal quickly and the tool lasts.
Garden Gloves
Good gloves protect your hands from blisters, thorns, and dirt while giving you control. Choose gloves that fit well — oversized gloves reduce dexterity and can make fine tasks harder.
Digging and Soil Preparation Tools
Soil preparation determines your garden’s productivity; the right digging tools make this work manageable. You’ll use these for bed preparation, turning compost, and soil aeration.
| Tool | Purpose | Quick Tip |
|---|---|---|
| Spade | Cutting sod, edging beds, digging planting holes | Pick a full-butt spade for heavy work and a lighter spade for raised beds |
| Shovel | Moving soil, compost, gravel | Choose a rounded or square point depending on tasks |
| Garden fork | Turning soil and compost, breaking clods | Strong, slightly curved tines help lift soil without bending |
| Hoe (draw/eye/oscillating) | Surface cultivation; weeding and shaping beds | Choose hoe type based on soil and weed types |
| Mattock or pick mattock | Breaking hard ground or roots | Use sparingly unless you have compacted or rocky soil |
Spade
You’ll rely on a spade to cut turf edges, dig holes for large transplants, and move soil. A spade with a comfortable step plate and full-length handle will be your primary digging tool for heavier work.
Shovel
A shovel’s role is hauling soil, mulch, and compost around the garden. You’ll want a well-balanced, durable shovel for frequent use.
Garden Fork
Turn soil and aerate beds with a garden fork to improve drainage and root penetration. You’ll find a fork indispensable for compost turning because it lifts material without compacting it.
Hoe
Use a hoe for weeding and for shallow cultivation to break crusts on the soil surface. You’ll choose different hoe heads depending on whether you’re cutting weeds beneath the soil or creating furrows.
Mattock
A mattock or pick is ideal for breaking up compacted clay or cutting out tree roots before bed preparation. You’ll use this when prepping brand-new ground or clearing stubborn obstructions.
Planting and Transplanting Tools
Accurate planting and gentle transplanting reduce transplant shock and improve establishment rates for your crops. Use the right tools for consistent spacing and depth.
| Tool | Purpose | Quick Tip |
|---|---|---|
| Dibber / dibble | Making uniform holes for seeds or seedlings | Mark common depths on the dibber with tape |
| Bulb planter | Planting bulbs and small root crops | Tapers help you plant at a consistent depth |
| Transplant trowel | Shallow holes, delicate transplant work | Narrow blade reduces root disturbance |
| Soil thermometer | Measure soil temp for planting timing | Plant warm-season crops after soil warms suitably |
Dibber / Dibble
A dibber helps you make uniform holes for seedlings or potatoes, so spacing and depth are consistent. You’ll find that consistent planting improves air circulation and simplifies weeding.
Bulb Planter
You’ll use a bulb planter to plant garlic, onions, or any bulb-shaped crops at the correct depth with minimal effort. It saves time and keeps depth consistent across the bed.
Transplant Trowel
A narrow transplant trowel lets you work closely around small seedlings without damaging roots. You’ll be gentler on plants and reduce transplant shock with a thin, precise blade.
Soil Thermometer
Soil temperature guides your planting times for seeds and transplants, preventing losses from planting too early. You’ll gain better germination and establishment by checking soil temps before sowing.
This image is property of pixabay.com.
Watering and Irrigation Tools
Consistent water delivery is critical for establishing a survival garden. You’ll want tools that conserve water while matching the scale of your beds and containers.
| Tool | Purpose | Quick Tip |
|---|---|---|
| Watering can | Gentle watering for seedlings and container plants | Choose a size you can comfortably carry full |
| Garden hose with nozzle | Quick watering for larger areas | A shut-off nozzle helps conserve water |
| Soaker hose | Gentle, low-pressure watering of beds | Lay under mulch to reduce evaporation |
| Drip irrigation kit | Targeted water delivery for beds and containers | Use pressure regulators and filters for reliability |
| Rain barrel | Collecting rainwater for irrigation | Use a screen to keep debris and mosquitoes out |
Watering Can
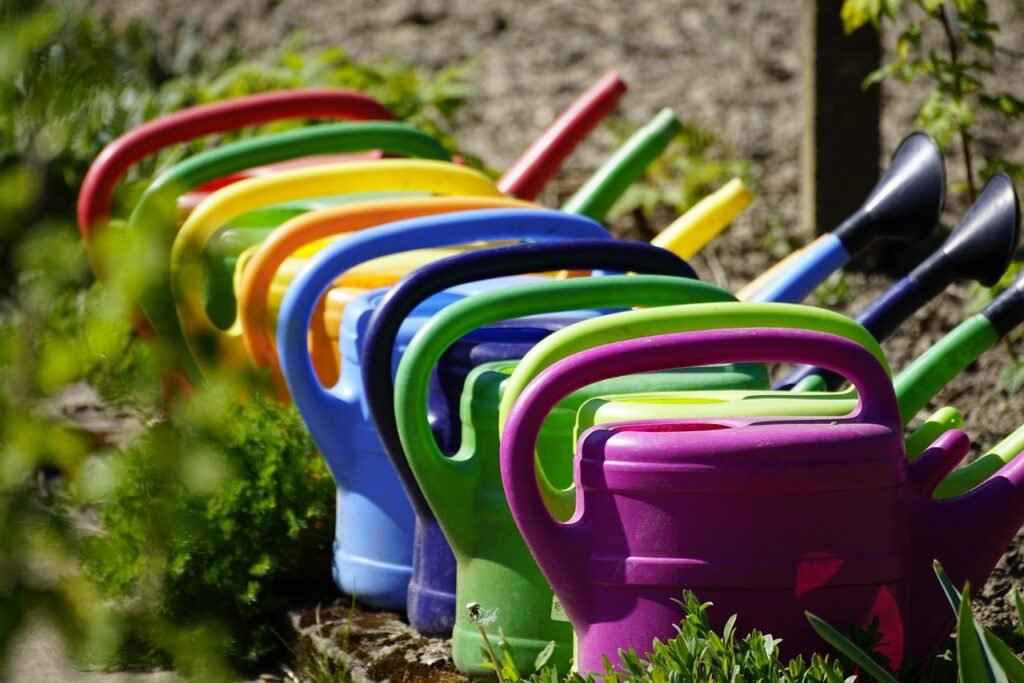
Use a watering can for gentle, controlled watering of young seedlings and container plants. You’ll avoid washing away soil or compacting the bed with a lower flow than a hose.
Garden Hose and Nozzle
A hose with a workable nozzle offers flexibility for spot watering and rapid delivery when you need it. You’ll want a nozzle with multiple flow settings and a shut-off to stop leaks.
Soaker Hose
Soaker hoses deliver water slowly into the root zone and reduce surface evaporation. You’ll save water and reduce disease pressure from wet foliage when you use soaker hoses below mulch.
Drip Irrigation
Drip systems give you precise control over water volume and timing, making them ideal for raised beds and container systems. You’ll cut water use and improve plant resilience by keeping moisture consistent.
Rain Barrel
Collecting rainwater reduces reliance on municipal supplies and gives you free irrigation during dry spells. You’ll benefit most when you pair barrels with gravity-fed drip or soaker lines.
Weeding and Cultivation Tools
Weeding is a recurring task; efficient tools reduce the time you spend on it and protect plant roots. The right tools help you remove weeds before they set seed.
| Tool | Purpose | Quick Tip |
|---|---|---|
| Stirrup hoe / scuffle hoe | Shallow weeding just under the soil surface | Use frequently to prevent weed establishment |
| Hand weeder / dandelion fork | Pulling taproot weeds with minimal soil loss | Pull when soil is moist for easier removal |
| Wheel hoe | Covers longer rows quickly | Good for larger rectangular beds and paths |
| Cultivator (hand or motorized) | Soil aeration and light weeding | Avoid deep passes near roots to prevent damage |
Stirrup or Scuffle Hoe
A stirrup hoe easily slices weed roots just under the soil surface with a push-pull motion. You’ll use it often for a low-effort way to keep weeds from stealing nutrients.
Hand Weeder
A hand weeder is perfect for targeted removal of individual weeds and taproots. You’ll find it indispensable for small beds and delicate plants.
Wheel Hoe
If you have narrow rows or a larger small garden, a wheel hoe speeds up cultivation and furrow creation. You’ll cover ground faster without the expense or maintenance of a motorized tiller.
Cultivator
Cultivators are used to break crusts and incorporate shallow amendments while avoiding root damage. You’ll benefit from lightweight cultivators for frequent light work.
Pruning and Harvesting Tools
Pruning and harvesting tools help you maintain plant health and gather crops efficiently. Clean, sharp tools reduce plant stress and make tasks safer.
| Tool | Purpose | Quick Tip |
|---|---|---|
| Bypass pruners | Cutting live stems and softwood | Clean blades after use to reduce disease spread |
| Anvil pruners | Tough, dead wood pruning | Better for dead branches but crushes live tissue |
| Loppers | Cutting thicker branches up to 2 inches | Use long handles for extra leverage |
| Pruning saw | Removing larger limbs and woody stems | Use for persistent woody growth you can’t prune with loppers |
| Harvest knife / garden scissors | Harvesting vegetables and herbs | Keep a small tool in your tool belt for quick harvests |
Bypass Pruners
You’ll use bypass pruners for most pruning tasks because they make a clean cut that heals quickly. Keep blades sharp and lubricated to extend their life.
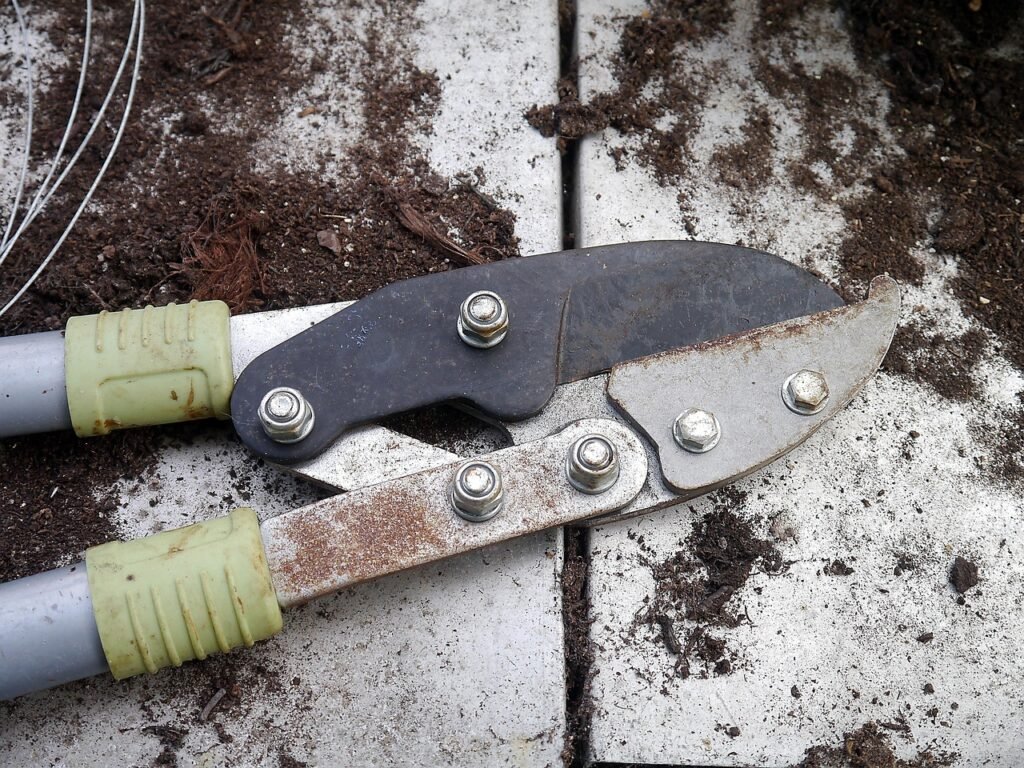
Loppers
Loppers give you extra reach and leverage for pruning medium branches that pruners can’t handle. You’ll find telescoping handles useful for hard-to-reach spots.
Pruning Saw
A pruning saw completes the toolkit for larger woody material and stubborn branches. You’ll prefer a curved blade for faster, smoother cuts.
Harvest Knife and Scissors
Small scissors and knives speed up harvests and reduce damage to plants. You’ll keep them sharp and clean to prevent contamination between crops.
This image is property of pixabay.com.
Tool Storage and Maintenance
Keeping tools clean, dry, and organized will extend their life and make them ready when you need them. You’ll adopt simple routines that prevent rust and damage.
| Task | Frequency | What to Do |
|---|---|---|
| Clean blades | After each use | Wipe soil off, remove sap with rubbing alcohol if sticky |
| Sharpen cutting edges | Monthly during active season | Use a file or sharpening stone at the correct angle |
| Oil metal parts | Every 1–3 months | Light machine oil prevents rust |
| Store indoors / dry | Always when not in use | Hang tools to keep blades off the ground |
Cleaning Tools
After each day in the garden, wipe soil and sap from your tools to prevent rust and disease transfer. You’ll see the difference in longevity if you make cleaning a habit.
Sharpening and Oiling
You should sharpen pruners and hoes to keep cuts clean and work efficient. A light oiling of metal parts prevents oxidation and maintains moving parts.
Storage Solutions
Store tools indoors or in a covered shed and hang them to keep edges safe and handles straight. You’ll appreciate a pegboard or rack that keeps tools visible and accessible.
Protective Gear
Protective gear reduces injury risk and makes gardening more comfortable for longer sessions. You’ll need basic items that fit properly and match your usual tasks.
| Gear | Purpose | Quick Tip |
|---|---|---|
| Gloves | Protect hands from cuts, blisters, and soil | Keep a light pair for delicate tasks and a heavy pair for thorny plants |
| Knee pads / knee pads | Kneeling comfort and joint protection | Use a garden kneeler if you have frequent kneeling tasks |
| Sun protection | Prevent sunburn and heat stress | Wear wide-brimmed hats and UV-protective clothing |
| Boots | Foot protection from mud and punctures | Choose waterproof boots with good tread |
Gloves
You’ll need at least two pairs of gloves — soft, flexible gloves for planting and sturdier gloves for brush and wood work. Replace gloves when they get worn or contaminated.
Knee Protection
A soft kneeling pad or knee pads will let you work comfortably for longer. You’ll save your joints and can garden more frequently with less pain.
Sun Protection
Gardening often puts you under sun exposure; a hat, sunscreen, and UV-protective clothing lower your long-term risk. You’ll feel more comfortable and be able to work longer in hot weather.
Boots
A good pair of boots supports your ankles, prevents slips, and protects from sharp debris. You’ll pick boots suited to your climate — insulated for cold or breathable for heat.
Soil Testing and Amendment Tools
Understanding your soil helps you choose crops and amendments that will thrive. These tools let you measure pH, nutrients, and moisture.
| Tool | Purpose | Quick Tip |
|---|---|---|
| Soil test kit | pH and nutrient baseline | Test in several spots for an average of your garden area |
| pH meter | Quick soil pH checks | Calibrate regularly if it’s a digital meter |
| Moisture meter | Measure soil moisture levels | Good for raised beds and containers |
| Compost thermometer | Monitor compost heat for safe breakdown | Keeps composting at optimal temperatures |
Soil Test Kit
You should test your soil to know pH and nutrient levels to decide on lime, sulfur, or fertilizer needs. Test different areas to capture variability.
pH and Moisture Meters
A pH meter gives more precise readings than cheap kits, and moisture meters help avoid over- or under-watering. You’ll combine these readings with observation for the best results.
Compost Thermometer
A compost thermometer helps you manage temperature ranges that speed decomposition and kill pathogens. You’ll use it to know when to turn or water your pile.
Composting and Organic Matter Tools
Compost is one of the best soil amendments for small survival gardens, and the right tools make composting easier to manage. You’ll turn compost, monitor moisture, and harvest finished material.
| Tool | Purpose | Quick Tip |
|---|---|---|
| Pitchfork | Turning and aerating compost | Use a fork with long, strong tines |
| Compost bin or tumbler | Contain and speed composting | Tumblers reduce turning labor |
| Kitchen scrap container | Collecting organic scraps | Keep it ventilated and empty it daily |
| Compost thermometer | Track decomposition | Aim for 130–160°F for fast, hot composting |
Pitchfork
A pitchfork is the classic tool for turning compost piles and moving loose material. You’ll use it to mix and aerate for faster decomposition.
Compost Bin or Tumbler
You’ll choose a stationary bin for a low-effort system or a tumbler if you want faster, easier turning. Either will give you richer soil amendments when managed well.
Kitchen Scrap Container
Collect scraps in a small counter container to reduce trips and keep your compost supply steady. You’ll reduce waste and build fertility at the same time.
Seed Starting and Propagation Tools
Starting your own seeds saves money and lets you choose varieties best suited to survival needs like storage and high yield. You’ll use a few basic tools to increase germination and early growth success.
| Tool | Purpose | Quick Tip |
|---|---|---|
| Seed trays and flats | Organized seed starting | Use trays with drainage and a bottom tray for watering |
| Seed-starting mix | Fine, sterile medium | Avoid garden soil which is heavy and may contain pathogens |
| Heat mat | Promote germination for warm crops | Turn off after seedlings emerge to harden off |
| Grow lights | Supplement light indoors | Keep lights 2–4 inches above seedlings, raise as they grow |
| Labels and marker | Keep varieties organized | Waterproof markers resist outdoor conditions |
Seed Trays and Mix
You’ll start many crops indoors in trays with sterile seed mix to prevent damping-off and improve germination rates. Proper drainage and air circulation reduce disease.
Heat Mats and Grow Lights
Heat mats and lights let you control germination and early growth without depending on unpredictable spring weather. You’ll get sturdier seedlings and earlier planting times when you use them.
Labels
Labeling your seedlings prevents confusion and helps you manage succession planting. You’ll thank yourself when harvest time comes.
Pest and Disease Management Tools
Minimizing pest and disease damage helps maintain yields with fewer chemical inputs. You’ll use a combination of physical barriers, monitoring tools, and targeted applications.
| Tool | Purpose | Quick Tip |
|---|---|---|
| Row covers | Physical barrier to insects and frost | Choose fabric weight based on frost protection needs |
| Netting | Keep birds and larger pests out | Support netting off plants to prevent damage |
| Sticky traps | Monitor flying pest populations | Place near vulnerable crops and entry points |
| Hand sprayer | Apply organic sprays and foliar feeds | Calibrate sprayer for even coverage |
| Hand lens | Inspect pests, eggs, and early disease signs | A 10–20x lens reveals early problems |
Row Covers
You’ll use row covers to protect seedlings from pests and light frosts without pesticides. Light fabric lets pollinators through when you remove covers for flowering.
Netting
Birds and larger pests can decimate fruit and young plants; netting is an easy way to prevent losses. You’ll make cages or drape netting over hoops for flexible protection.
Sticky Traps and Hand Lens
Sticky traps give early warning of flying pests while a hand lens helps you identify them before a major outbreak. You’ll treat problems on sight rather than after widespread damage.
Containers and Raised Bed Materials
If you don’t have in-ground space, containers and raised beds let you grow intensively and manage soil more easily. You’ll want durable materials and good drainage.
| Item | Purpose | Quick Tip |
|---|---|---|
| Raised bed frames | Define beds and contain soil | Use rot-resistant wood or more durable composite materials |
| Pots and grow bags | Container gardening solutions | Match pot size to plant size for best root development |
| Landscape fabric | Weed suppression and drainage | Use under paths and beds, not under topsoil in beds |
| Mulch | Moisture retention and weed suppression | Use organic mulch to feed soil organisms over time |
Raised Beds
Raised beds warm faster in spring and let you control soil quality. You’ll get better yields per square foot when you use raised beds and amend them regularly.
Pots and Grow Bags
Containers are flexible for balconies or patios and let you move plants to follow sun patterns. You’ll pick a container size that fits the crop’s root needs.
Mulch and Fabric
A mulch layer conserves moisture and suppresses weeds while feeding the soil as it decomposes. You’ll reduce watering frequency and improve soil life with organic mulches.
Power Tools and When You Need Them
Power tools can speed up major tasks but are not essential for a very small garden. You’ll consider them when garden size, soil type, or physical limitations justify the investment.
Tiller / Cultivator
Tillers break new ground and loosen compacted soil quickly but can also over-till and harm soil structure. You’ll use them sparingly and follow with amendments and cover crops.
Battery Tools (Weed Trimmer, Leaf Blower)
Battery-powered tools are quieter and lower maintenance than gas alternatives and can save time on repetitive tasks. You’ll assess battery runtimes and whether the tool fits your garden’s scale.
Chainsaw or Pruner for Large Trees
If you manage trees or large brush, a chainsaw or pole saw will be necessary. You’ll use proper PPE and know your limits with power saws to stay safe.
Budgeting and Prioritizing Your Tool Purchases
Start with the essentials and add specialty tools as your garden grows. You’ll spend first on tools that reduce daily friction: quality pruners, a spade, a trowel, and a hose or watering can.
Buy Essentials First
Prioritize tools that support immediate needs like planting and watering. You’ll avoid buying expensive or seldom-used tools until you consistently need them.
Consider Quality vs Price
A well-made tool often lasts much longer than a cheap one and performs better, saving money over time. You’ll choose solid handles and replaceable blades for long-term value.
Second-Phase Purchases
After the basics, add tools that improve efficiency: a wheel hoe, drip irrigation, or seed-starting equipment. You’ll scale purchases to match your garden’s complexity.
Tool Substitutes and Improvised Tools
You can improvise many items if budget or availability is limited. You’ll find household items that serve in place of specialized garden tools until you can upgrade.
Kitchen Tools and Household Substitutes
A sturdy kitchen knife or trowel can act as a short-term transplanting tool, and a milk crate makes a handy harvest basket. You’ll avoid improvising on sharp-edge safety tools for long periods.
Recycled Materials
Old boards can become raised bed frames, and buckets can serve as containers or compost collection bins. You’ll reuse materials safely and treat or seal them if needed to avoid toxins.
DIY Irrigation
You can rig soaker hoses from used garden hose with small holes or gravity-fed drip systems from plastic bottles for container watering. You’ll monitor closely to ensure even water distribution.
Seasonal Tool Checklist
Your tasks and tool priorities change with the seasons. You’ll prepare tools for specific tasks to keep the garden productive year-round.
Spring
In spring you’ll focus on soil prep, planting, and seed starting. Essential tools include spade, rake, seed trays, and water sources.
Summer
Summer brings irrigation and pest control to the forefront. You’ll rely on hoses, soaker lines, pruning tools, and shade cloth if needed.
Fall
Fall is for harvest, cleanup, and composting. You’ll need harvest knives, wheelbarrows, and tools for bed cleanup and cover cropping.
Winter
Winter tasks include tool maintenance, planning next year’s layout, and repairing beds and shelters. You’ll sharpen blades, oil moving parts, and store tools properly.
Safety Tips When Using Garden Tools
Safe tool use protects you and preserves your ability to care for your garden over time. You’ll practice safe handling, proper posture, and regular maintenance.
Safe Handling and Posture
Lift with your legs, not your back, and use long-handled tools to reduce bending. You’ll reduce strain and avoid injury with correct technique and occasional breaks.
Sharp Tools and Blade Safety
Keep cutting tools sheathed or hung safely when not in use and carry them with blades pointed down. You’ll respect sharp edges and store them where children can’t access them.
Personal Protective Equipment (PPE)
Wear gloves, sturdy footwear, eye protection, and a hat when needed. You’ll prevent many common injuries by wearing the right PPE for each task.
Efficient Garden Layout and Tool Organization
Organizing tools near your garden and designing a compact layout will save time and improve workflow. You’ll plan paths wide enough for easy access and assign storage for frequently used tools.
Tool Rack and Pegboard
A simple wall-mounted pegboard or outdoor tool rack keeps tools organized and visible. You’ll always know where your tools are and reduce time searching.
Mobile Tool Cart
If you move frequently between beds, a wheeled cart or bucket with handles lets you transport tools and harvests efficiently. You’ll keep a basic kit ready in the cart to avoid multiple trips.
Workflow Planning
Group plants by water needs and harvest timing so you minimize trips and equipment changes. You’ll lay out beds to make irrigation and maintenance straightforward.
Sourcing Tools: New, Used, or Borrowed
Choosing where to get tools depends on budget, urgency, and availability. You’ll weigh pros and cons of new, used, and borrowed options to make sensible choices.
Buying New
New tools come with warranties and predictable quality. You’ll invest here for essential long-term pieces like a good spade or quality pruners.
Buying Used
Used tools can offer great value; inspect them for straight handles and rust-free blades. You’ll save money on tough-to-find vintage tools that were often built to last.
Borrowing or Renting
For infrequent needs, borrow or rent specialty tools like a tiller or chainsaw. You’ll save money and avoid the upkeep of seldom-used equipment.
Long-term Care and Replacement Cycle
Expect to replace some items more frequently than others and to carry out routine maintenance. Your care routine determines how long tools last.
Typical Lifespans
Hand trowels and pruners can last years with care; wooden handles may need replacement sooner than metal parts. You’ll plan for periodic replacement of gloves, hoses, and frequently dropped tools.
When to Replace
Replace tools when handles split, blades are excessively worn, or safety is compromised. You’ll keep a small reserve budget for replacements and upgrades as needed.
Warranty and Repairs
Many higher-end tools have warranties or replaceable parts — choose those when you value longevity. You’ll perform simple repairs like handle replacement to extend life.
Final Checklist
This checklist helps you prioritize purchases and decide what to start with. You’ll find essential tools first, then add optional items that improve efficiency or comfort.
| Priority | Tool | Estimated Price Range (USD) |
|---|---|---|
| Essential | Trowel | $10–$30 |
| Essential | Hand pruners | $15–$60 |
| Essential | Garden gloves | $5–$30 |
| Essential | Spade | $25–$100 |
| Essential | Garden fork | $30–$120 |
| Essential | Watering can / hose | $10–$80 |
| Important | Seed trays & mix | $10–$50 |
| Important | Soil test kit / pH meter | $10–$80 |
| Useful | Drip irrigation / soaker hose | $20–$200 |
| Useful | Wheel hoe / cultivator | $80–$400 |
| Optional | Tiller / power tools | $200–$1,000+ |
| Optional | Compost tumbler | $100–$300 |
Next Steps to Get Started
Create a small purchasing plan: buy the top essentials, prepare your bed or containers, and start with a few high-yield crops. You’ll learn more as you go and can add tools that solve the challenges you encounter.
- Step 1: Assess your space and list tasks you’ll do most often.
- Step 2: Buy the essential tools (trowel, pruners, spade, gloves, watering).
- Step 3: Prepare soil with fork and amendments, start seeds or plant transplants.
- Step 4: Set up basic irrigation, mulch, and pest protection.
- Step 5: Maintain tools and monitor your garden to refine your tool list.
You now have a practical roadmap to outfit a small survival garden. As you gain experience, you’ll fine-tune your toolkit to fit your growing methods, climate, and the crops you rely on most.
